


The Newbie's Guide to Plant Propagation
The Newbie's Guide to Plant Propagation
Propagating plants is a practical way to nurture and grow new plants. You can use anything from weeds to cuttings to support the process. Why propagate your plants? For a start, it’s incredibly rewarding to witness a plant’s growth from seed. You’ll take satisfaction in knowing your hard work has made your vision a reality.
If you absolutely love fresh greenery and want to grow more plants, propagating them will help you save money since you’re using parts from plants you already own. The process can be quick, too, so you’ll have the gratification of watching them thrive faster than you would if you planted from scratch.
The best part of the process is that there’s no greenhouse required — nor do you need to invest in costly equipment. So what’s the secret if you don’t exactly possess a green thumb? It turns out you don’t need a lot of gardening know-how to propagate a plant or two. All you really need is some patience and dedication to your plants’ upkeep and wellbeing. Here’s everything you need to know to make your vision of the perfect plant a reality.
Propagating Step by Step
Among the most popular and simple methods of plant propagation involves using leaf cuttings. This is as straightforward as cutting and planting a leaf, but it needs to be done in a precise way to reap the greatest reward. Following the steps may seem time-consuming at first but will become simpler after you’ve done it a couple of times.
To begin, cut your houseplant with clean, sterilized pruning shears at the point where the stem meets the leaf. Snip at a 45-degree angle to denote the bottom that serves as the rooting area. Then, dip this cut portion in a rooting agent of some kind, like a gel or a powder. These chemicals are designed to stimulate quick root production and provide stability to the cutting as it begins to grow.
Before you put the cutting in soil, you’ll need to prepare the mixture outlined below. During this time, it’s best to keep your leaf cuttings moist to prevent them from failing or losing their integrity. Simply wrap them up in damp — not soaking — paper towels, then retrieve them when it’s time to begin planting. Since it’s possible for leaves to rot, keep a few leaf cuttings handy to experiment with watering and so you have the best possible chance of protecting the life of your propagated plant.
Now it’s time to immerse your cutting. Mix potting mix made with peat with a bit of perlite. The latter component improves the condition of the mix, preventing it from becoming too compact to drain efficiently. Looser material not only drains well but boosts aeration and prevents the roots from becoming soaked with moisture — a serious issue that could otherwise lead to irreversible root rot. Don’t skip the perlite, since potting mix alone will keep the roots far wetter than they should be.
The next step is key to the plant’s growth and wellbeing. Use a clean, pointed object to create a hole in the potting mix. It should ideally be larger than the stem, which will prevent any rooting agent you applied from being rubbed off during immersion. Gently place your cutting into the hole, then press the mix firmly around it.
Conditions play a vital role in ensuring the plant thrives. Aim to keep humidity levels elevated and place the pot in a warm space, ideally at least 75 degrees. If you can’t find a spot warm enough to support those temperature needs, place a heating pad below the pot to warm it up sufficiently. You can even use a zippered snack bag or a plastic bag on top to lock in the heat. Feel free to zip it partially closed or lightly knot it, but don’t create too snug a canopy, or the plant may be at risk of developing fungal rot.
The proper lighting conditions are critical to your cutting’s success, too. At this early stage, indirect lighting is best to support healthy growth. If you don’t have access to a reliable environment that supports indirect or diffused illumination, use artificial lights instead. Only as the cuttings grow can they tolerate more lighting.
By following these steps, your plant should develop its roots within several weeks. You can test this by pulling gently on the cutting. When it resists, that’s a sign of root establishment. You can now transfer your growing plant into a bigger pot with a standard potting mix or plant it in the ground if you prefer.
Propagating Multi-Stem Plants
Not all plants are propagated the same way. Something with rhizomes, like a ZZ plant, should be divided for successful propagation. This is because the root systems are especially hardy and tough, with bulb-like formations that make them trickier to manage. To perform this method, you’ll need a pot, a sterilized knife, and the potting soil of your choice.
To begin, detach your preferred plant from its pot and determine how you want to divide it. With a single rhizome, simply slice the knife through the bulb. For multiple rhizomes, use the knife to cut in between two of them. The latter may have tangled roots, which you should try to detangle manually to prevent any further disruption to the root system. While you can cut them if you prefer, keep in mind that this disturbs their health and growth patterns and may yield less successful results on the newly propagated plant.
When you’ve separated the rhizomes, it’s time to repot the plant. Select a pot that’s large enough to accommodate a growing root system. Don’t forget to pot the parent plant again — you may need a smaller pot for this since you’ve cut it down into smaller portions.
Then, simply keep an eye on your fresh propagations to ensure they maintain their integrity, especially during this period of early growth. While they should be fine with regular monitoring and watering when the soil feels dry, they are also more vulnerable to disease because their roots are still in the healing process. As a result, they might be especially sensitive to moisture and even exposure to light during this time.
Care for Growing Roots
As the roots grow, you need to make sure you’re doing everything possible to support them. That begins with a suitable environment. The size of the pot matters because there needs to be adequate room to support the rapidly developing root system. As a general rule of thumb, aim to use a pot that’s about three inches bigger in circumference than the root system.
You should also make sure it has drainage holes to prevent water from collecting inside and oversaturating the roots. Focus on maintaining soil that is moist. Dip a finger about an inch into the soil; if it feels dry or crumbly to the touch, that’s a sign that it needs water. Again, be careful about oversaturating, or you risk harming your newly propagated plant’s long-term health and vitality.
Types of Plants to Propagate
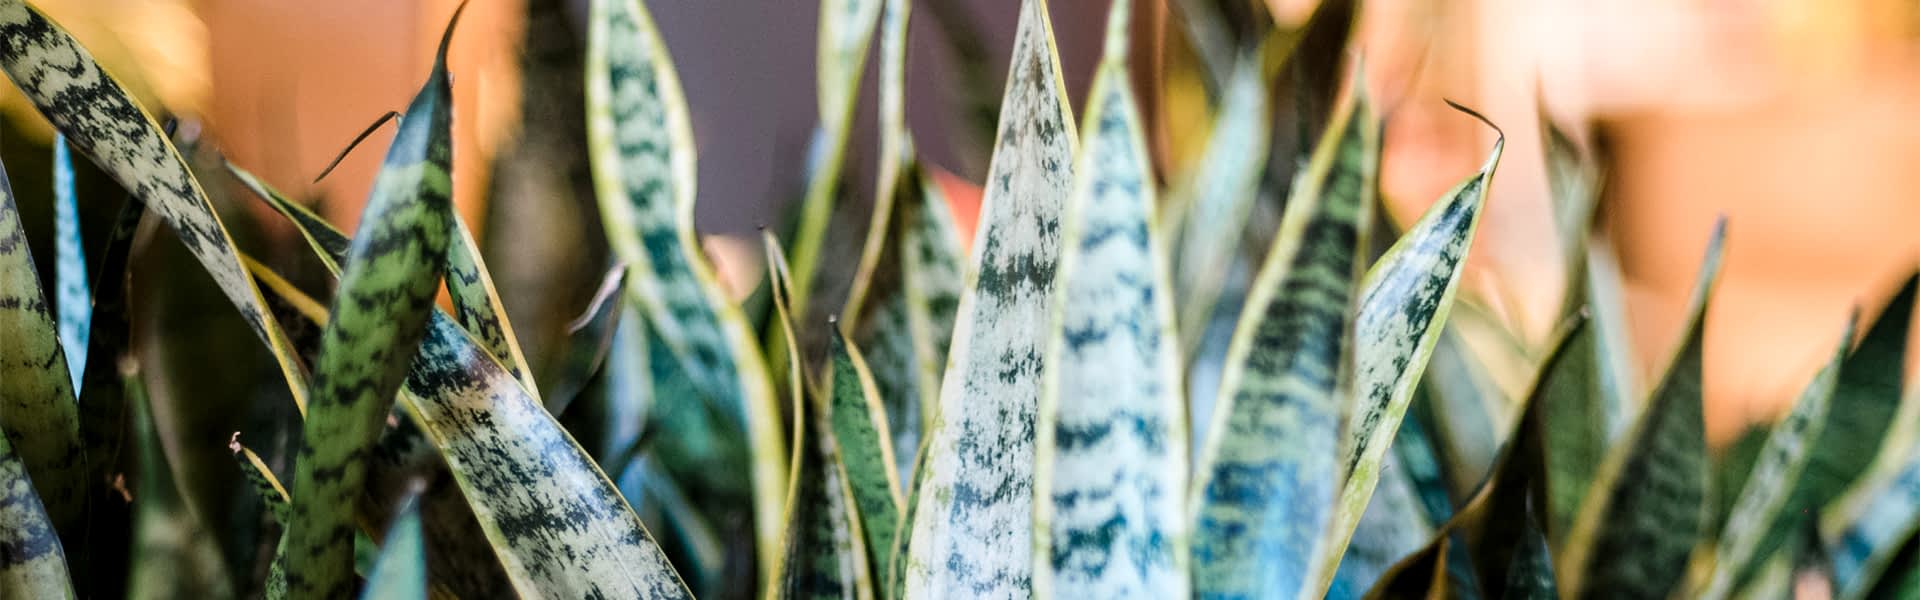
Some houseplants are easier to propagate than others. Plants that are especially friendly for newbies include snake plants, spider plants, jade plants, and pothos. Other quick growers include begonias and African violets.
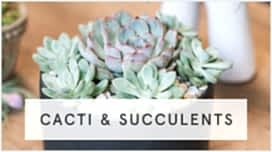
Succulents are also fairly easy to propagate, but for a plant like this with fleshy leaves, you need to twist the leaf from the stem instead of cutting. There should be nothing left behind on the stem if you choose to propagate a succulent, so check it carefully. If you notice a small nub remains, try to produce a cleaner break with another leaf. Don’t be afraid to remove a portion of the stem if necessary. Neglecting to get the entire leaf could lead to premature failure.
What to Do with Propagated Plants
Once you’ve successfully propagated one plant, you’ll find that it’s not so hard after all. In fact, you could conceivably create an entire indoor jungle starting with just one or two plants and without ever purchasing another new one. It’s cost-effective, efficient, and eco-friendly all at once.
Propagated plant babies also make wonderful gifts for family and friends. It’s personal, thoughtful, and takes some effort — all characteristics that your recipient is sure to appreciate. Add a decorative ribbon to make it more giftable, whether it’s the holiday season, a birthday, or a thank you gift. Don’t be hesitant to give a compact plant, either. Charming succulents set in miniature terracotta pots are especially popular for their simplicity and dainty beauty.
Taking the right steps is key to achieving success as you learn how to propagate plants. Don’t be frustrated; with a little bit of practice, you’ll reach the point where you’re potentially nurturing more propagated plants than you can handle.
